+1 (312)439-2098
- Home
- Solutions
- Residential Buildings
- Electric Motor Control with Overcurrent Protection
Electric Motor Control with Overcurrent Protection
1 Button
2 Timers
3 Protections
The numbering—1, 2, 3—may be a coincidence, but it happens to perfectly describe the relay-based motor control circuit shown in Figure 1. Though it might appear complex at first glance, the concept is straightforward:
- 1 pushbutton controls a bidirectional motor (e.g., gate or garage door).
- 2 time relays handle movement timing.
- 3 protection mechanisms ensure safe and reliable operation.
Each functional block is marked in the drawing and can even be reused in other applications. The circuit assumes the motor has built-in limit switches.

Basic Operation with Step Relay
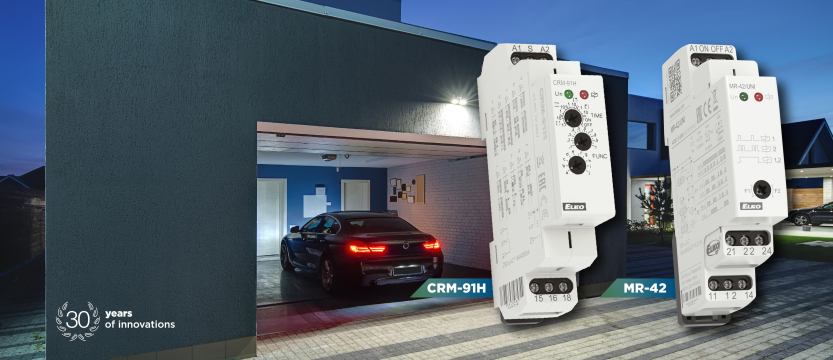
At the core is the MR-42 stepping pulse relay (“R4”). It cycles through a 2-bit binary sequence with each rising edge on the ON/OFF input:
01 → 10 → 11 → 00 (where 0 = OFF, 1 = ON).
| Output 2 (21-24) | Output 1 (11-14) | Function | |
|---|---|---|---|
| 1st button press | OFF | ON | UP |
| 2nd button press | ON | OFF | STOP |
| 3rd button press | OFF | ON | DOWN |
| 4th button press | ON | OFF | STOP |
Protection #1: Preventing Simultaneous Direction Commands
To avoid powering both motor windings at the same time, the changeover contact of MR-42 channel 2 inherently ensures that only one direction is ever active.
For added safety, the changeover contacts of the two time relays are wired to mutually block each other, preventing overlap due to timing mismatches or relay failures. See the connection in Figure 1.
Protection #2: Automatic Reset After Power Failure
If power is lost while the system is in STOP, no action is needed upon restart. But if the power fails during movement, channel 1 of MR-42 may remain energized—and motion could resume unexpectedly once power is restored.
To prevent this:
- A third time relay, labeled R1, is installed in function “b”.
- It’s powered directly from the supply and provides a delayed release.
- Its output is connected in parallel with the pushbutton to simulate a keypress on power-up.
Crucially, terminal 15 of R1 only receives power when terminal 14 of R4 (motion enable) is active. This ensures the system always issues a STOP command at power-on, preventing unintended movement.
Protection #3: Overcurrent Monitoring
If the motor encounters an obstacle or jams, it may draw excessive current—risking overheating or burnout.
To guard against this, a PRI-51/xx current monitoring relay is used:
- It includes an internal shunt and adjustable max current setting (variant “xx” defines the range).
- A minimum current threshold (10% of max) and a delay (0.5–10 sec) help avoid false triggers.
- When an overcurrent is detected, the relay energizes and sends voltage from terminal 18 to an MR-41 pulse relay.
- The MR-41 cuts the motor power supply, bringing movement to a halt.
Restart is only possible via a dedicated “Overload RESET” button—after resolving the issue.
TIP: Prevent Automatic Restart After Overload Reset
If the system is restarted via the overload reset button, and the overcurrent has cleared, motion may resume—unless you want to block it.
To prevent this:
- Power R1 not directly, but from terminal 14 of time relay R2.
- This forces MR-42 to receive a STOP command after reset, ensuring motion doesn’t restart automatically.
Closing Thoughts
This circuit is a powerful example of how ELKO EP relays can deliver smart motor control using simple, modular building blocks—offering flexibility, safety, and reliability.
Attention: The circuits shown here are conceptual diagrams. Despite repeated testing, errors may still occur. Installers are responsible for verifying and adapting designs for their specific use. Wire colors are for illustrative clarity and may not reflect wiring standards.
Didn't find what you were looking for?
Technical Support
+1 (312) 439-2098
techsupport@elkoepna.com
Customer Support
+1 (251) 284-6636
elkosupport@elkoepna.com
General Inquiries
+1 (608)746-1332
info@elkoepna.com
Company Headquarters
1150 NW 72nd Ave, Tower I,
Suite 455 #9226, Miami, FL 33126